Before you begin
For many Japanese, Korean, and Chinese cars, the cabin filter is commonly located behind the glove box. That makes access relatively straightforward, but exact positioning can still vary depending on the model. Before opening anything, make sure the engine is off and the car is parked safely. If you are unsure about the filter location, checking the manual book first will save time and reduce the risk of forcing the wrong panel.
Step 1 — Open the glove box
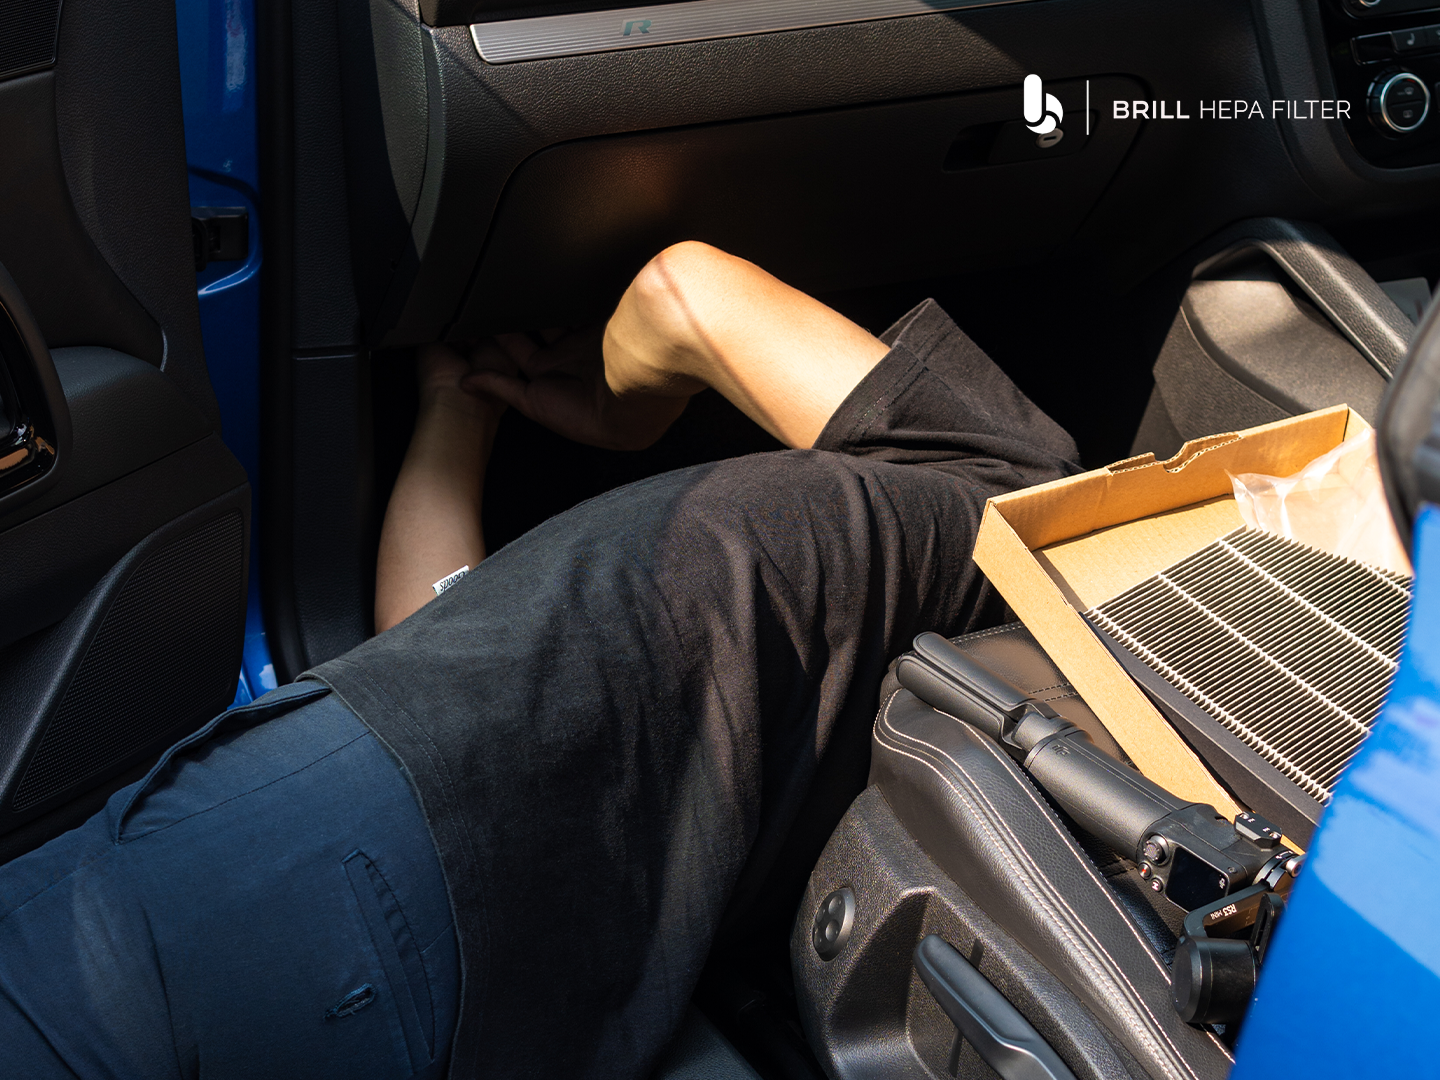
Start by emptying the glove box so you have enough working space. In most cars, the glove box needs to be lowered fully before you can reach the filter compartment behind it. Some models use side stoppers or clips that need to be released gently, so avoid pulling too hard. Once the glove box is lowered, the filter housing area should become visible.
Step 2 — Open the filter cover
After locating the filter housing, open the cabin filter cover carefully. This cover is usually held by simple side clips and can be removed without special tools, but it should still be handled gently to avoid damaging the plastic tabs. Once the cover is removed, you will see the old filter inside. This is the point where you can confirm dust buildup and overall filter condition.
Step 3 — Remove the old filter and install the new one
Pull the old filter out slowly so trapped dust does not scatter back into the cabin. Before inserting the new filter, pay attention to the airflow direction marking, because incorrect orientation can reduce filtration effectiveness. Slide the new filter into place carefully so it sits evenly inside the housing. Once installed properly, close the filter cover again and make sure it locks back into position securely.
Step 4 — Reassemble and record the replacement date
After the new filter is installed, raise the glove box back into place and return any clips or stoppers to their original position. Make sure everything closes normally and does not feel loose. It is also a good habit to note the installation date or keep a reminder card for the next replacement schedule. A filter may be small, but tracking replacement time helps maintain air quality more consistently over the long term.
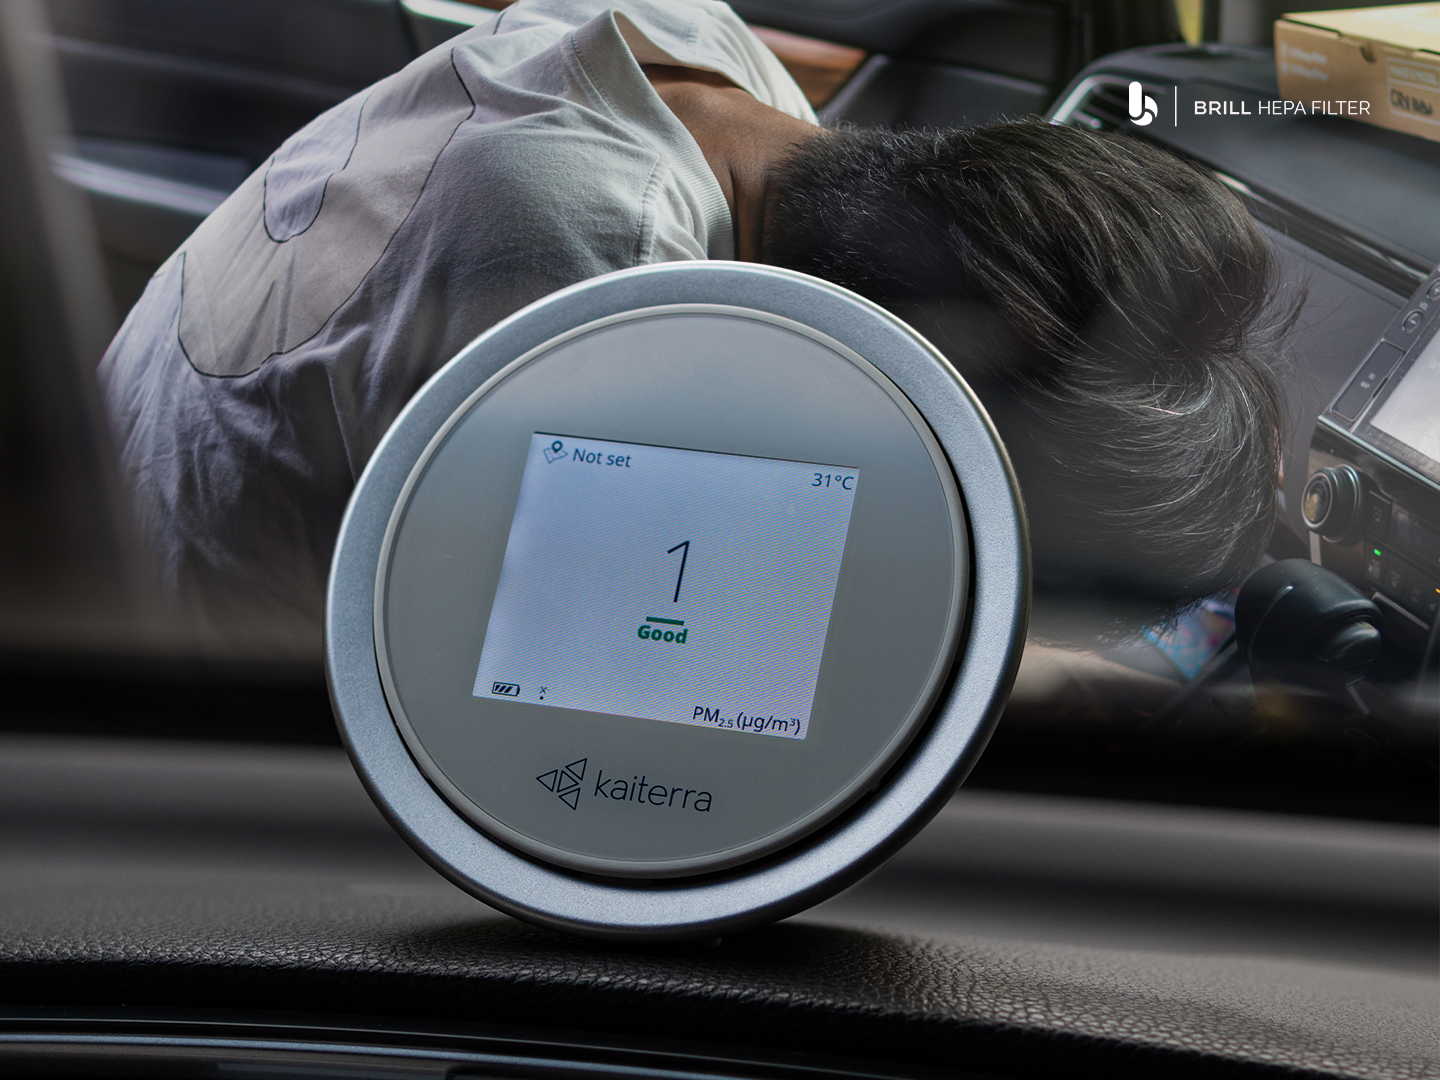
How often should it be replaced?
Cabin filters should generally be replaced every 9–12 months or after around 10,000–15,000 km, depending on driving conditions and environmental exposure. Cars used frequently in traffic, dusty roads, or polluted urban areas may need earlier replacement. Waiting too long reduces the filter’s ability to trap particles effectively and can gradually affect airflow and cabin comfort. Routine checks make the replacement cycle easier to manage before performance drops too far.
When to consult first
Even though the process is simple for many cars, not every vehicle uses the exact same access system. If the housing feels difficult to reach, or if the glove box mechanism seems different from what you expect, it is better to consult first rather than forcing it open. Reading the vehicle manual or asking for guidance can help avoid unnecessary damage. A simple installation should still be done carefully.